These are "Wet Bags"
If you have little kids, you are going to love them. They are pretty on the outside and they are waterproof on the inside. I made a dry pocket on the outside of mine too!
There are a handful of ways to use them. I use cloth diapers, so that is my sole purpose, but the possiblities are endless.
You can use them to send extra clothes to preschool.
You can use them for swimming lessons or the pool to throw wet suits in and keep underwear dry.
When I looked up tutorials there were a few I liked, but I wanted ones with printed fabric on the outside, somthing to hold on to, and an extra pocket that will stay dry. I combined a few ideas and this is what I came up with.
These can be adapted to any size bags. I made two sizes. The pattern I am sharing is the smaller one pictured and it is a more practical size to keep in a diaper bag or purse.
You can use scraps of fabric, they barely take up any at all. I used left over fabric from the new nursery bedding and projects. I never know what to do with all of the leftover unused fabric I end up with.
Supplies needed:
12 inch zipper
2-10x 13 inch PUL fabric for inside waterproof bag (white fabric)-I get mine at JoAnn's
2-10x13 inch cotton fabric for outside of bag (pinwheel fabric)
1-5x 10 inch cotton fabric for handle (balloon fabric)
2-7.5x10 inch cotton fabric for front pocket (aqua dress fabric) *optional
velcro-*optional for pocket closure
scrap of piping-*optional for pocket trim.
Step 1- Sewing Pocket with Piping
If you are putting a pocket on with the piping, lay the piping down matching raw edges and sandwich it between the two rectangles, right sides together. Use a zipper foot tot get as close to the piping as possible.
If you aren't using piping, lay pocket pieces right sides together and sew on one of the 10" sides.
Turn the pocket right side out, fold in half and press so the wrong sides are together.
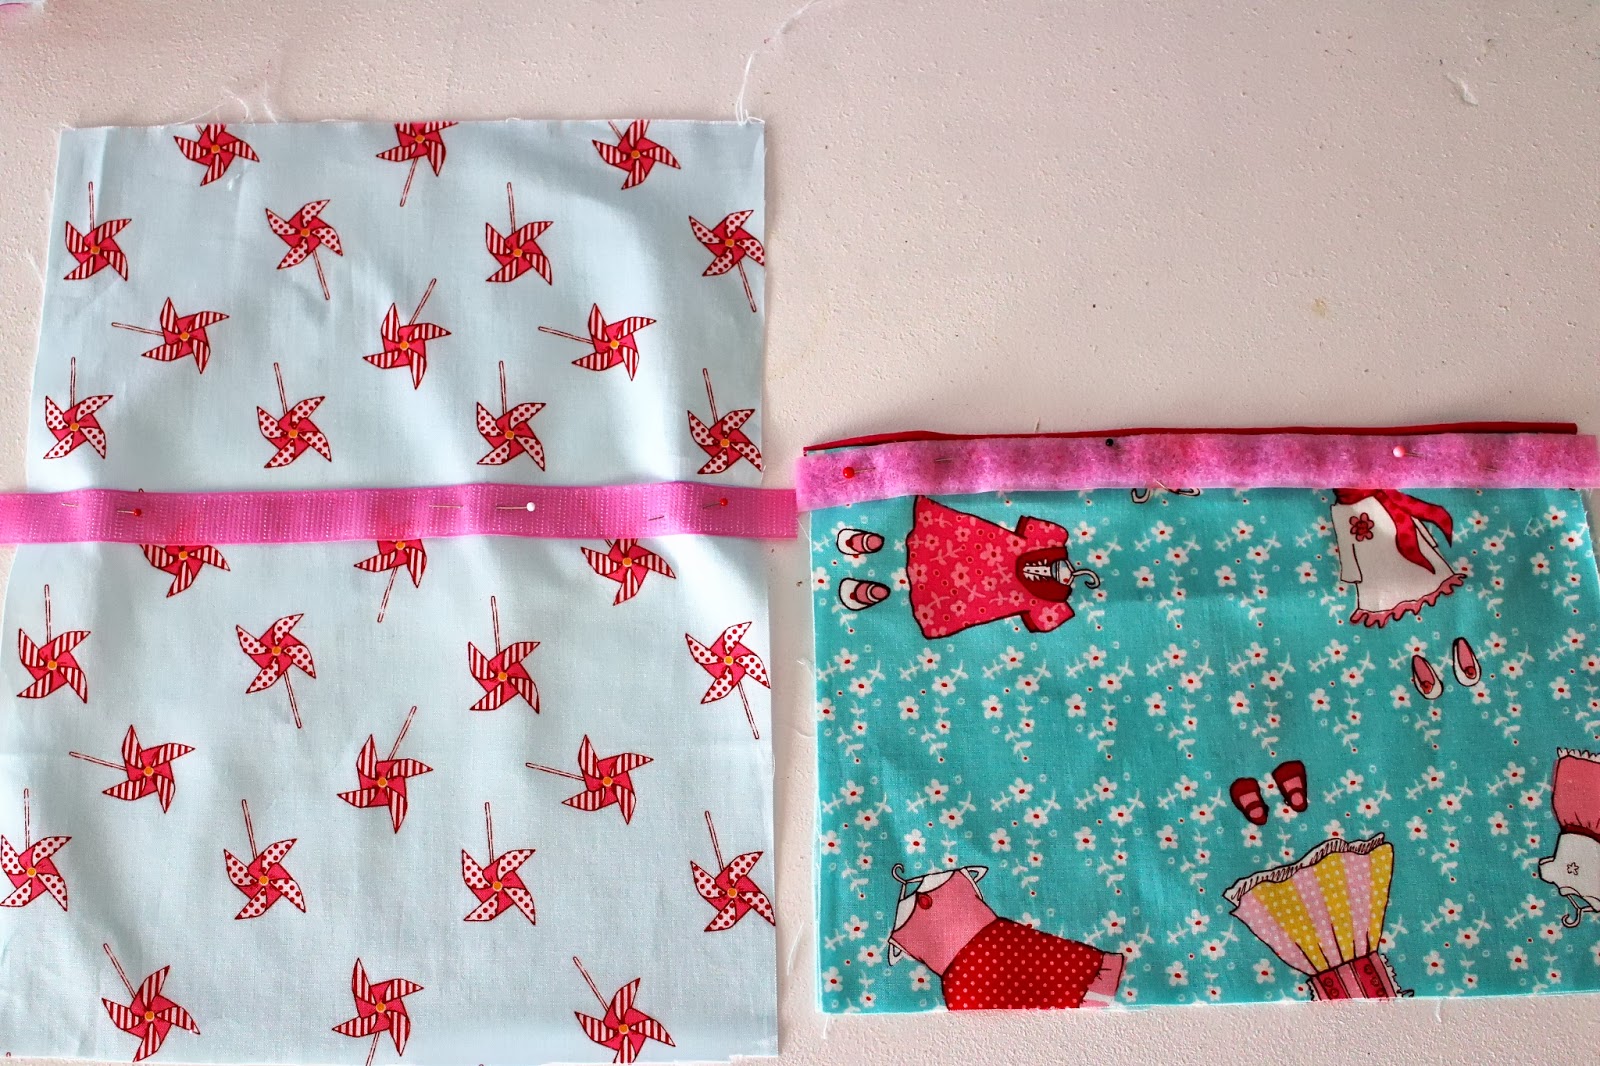
Step 2- Preparing Pocket and Velcro
Match up the pocket with one of the cotton outer bag pieces. If you are going to use velcro for a pocket closure, pin it to the backside of the pocket and the front of the bag and stitch into place. You can put velro all the way across the pocket or just a few inch strip in the middle.
You can use a washable pen to mark the placement of the vecro on the front of the bag if that helps.
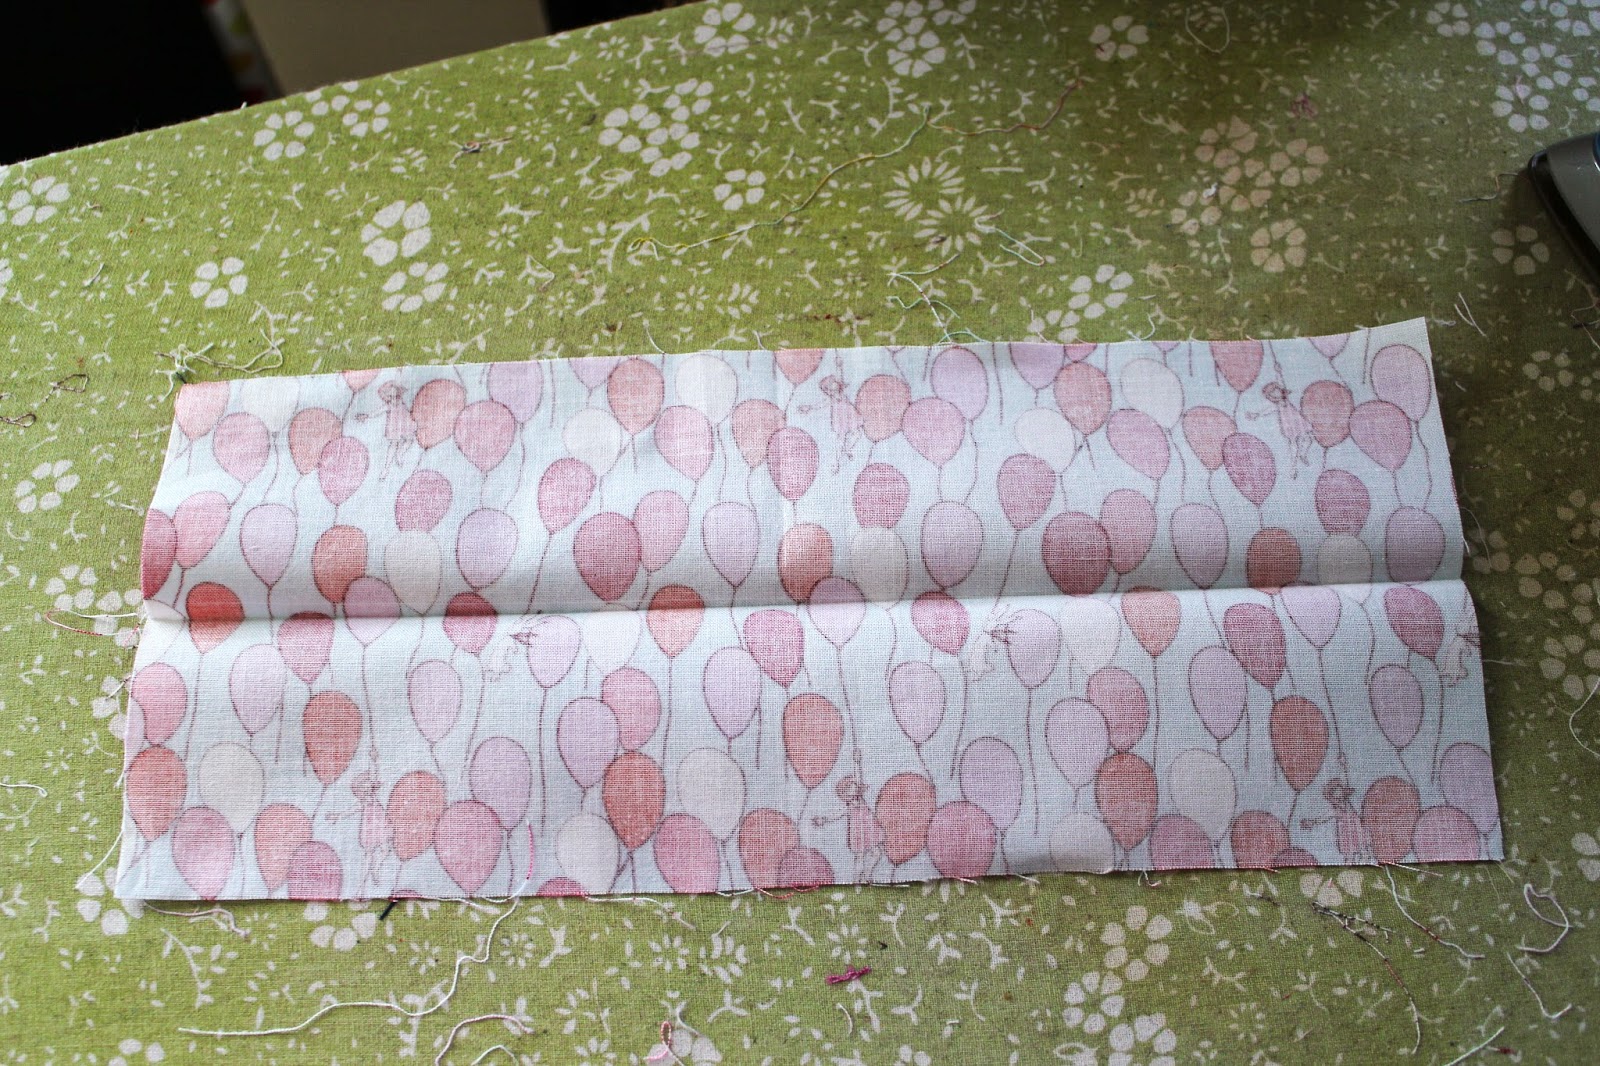
Step 3- Making the Handle
Press he handle strip in half the long way.
Fold in the top and bottom raw edge to meet the press line and press again. Fold it in half to incase all of the raw edges. Sew 4 horizontal lines from end to end to give it stability.
Step 4- Zipper
The PUL fabric has a shiny side and a dull side. Make sure you know the difference. Lay the PUL
shiny side UP then lay the zipper down matching up the top to the top of the PUL raw edge. Then put the cotton
printed side DOWN so its raw edge lines up with the top of the zipper too.
Clip the layers together (pinning will cause holes in the PUL and you want the least amount of holes in that fabric) Use a zipper foot and sew across catching the PUL zipper and cotton.
Flip both sewn on pieces to the same side, so that the unsewn side of the zipper is completely exposed. (see below)
Again, put the PUL
shiny side UP lay the unsewn zipper on top, matching the raw edges and then lay the cotton
printed side down on top. Using a zipper foot, sew across through all three layers.
Step 5- Basting Pocket and Handle
Open the bag up, so the shiny sides of the PUL are facing down and the printed side of the cotton is facing up. The zipper should be facing up as well. Lay the handle and pocket in place. Stitch the handle on each side as close to the edge as possible. Do the same with the pocket on three sides. As you can see above, you are only stitching through one layer of cotton fabric!
Step 6- Putting the Bags Together
Start by putting the cotton pieces right sides together and the PUL shiny sides together. Line up all of the raw edges. Pinch the zipper so the wrong sides of the zipper are together and all of the seam allowances are going with the zipper tape too, toward the PUL fabric. (refer to picture above)
You are going to sew all the way around the very outside edges leaving a 4-5 inch gap in the bottom of the PUL (refer to picture below)
** When sewing over the zipper, I would recommend starting by sewing from under the zipper teeth where the pull is, but not through the teeth toward the PUL. Then after getting through the zipper tape I would open the zipper up. This ensures the zipper tape is lined up and that you are able to flip in right side out after sewing it.
To make the bottom of the bags boxy, line up the side seam with the bottom seam to create a triange. Stitch across about an inch from where the corner stitches meet.
They will look like this from the bottom. Do this to both sides of the cotton and PUL bags.
Cut the ends off so there is about 1/4 inch seam allowance. ( I flip mine right side out before cutting to make sure everything looks good and then turn it back inside out for this step)
Flip it right side out and turn in the seam allowance on the PUL where the opening was.
Stitch the opeing close.
And you are done. I know some of the parts seem complicated, but they really aren't. If you can sew a straight line, then you can make these. DON'T let the zipper scare you!
Then stuff them with diapers and wipes
Or a swimming suit and undies.
After you make one, you can make a handful of them for yourself or a friend. They are a quick sew and really easy to assembly line. I am making one for every day of the week so I can pre pack diapers and snacks to throw in my diaper bag when baby #2 comes.
Thanks for reading and let me know if you have any questions.
I am linked up to these parties:


