

Alaire has been on a sleeping back kick for about a month. Is that a phase? How many "phases" do these little people have? A lot right? Anyway she doesn't have a sleeping bag and neither do her dolls but she talks about them all having them.
So... I made her doll one. You can make one too. They are pretty easy. It has a zipper. Don't let that turn you away. It isn't that bad.
Here is the tutorial.
*** Warning there are A LOT of pictures.***
Supplies Needed:
*Basic Sewing Supplies (machine, thread, scissors, pins etc)
*1/3 yard of lining and outside materials
I used flannel for the lining (the floral print) and fleece for the outside of the bag (the purple)
*zipper (I used 16")
For the zipper you can use a smaller one if you want your bag to be a bit smaller.
This sleeping bag will fit most sizes of dolls. I made it for the "Bitty Baby", but there is about 6 inches of room below her feet. It will definitely fit 18" dolls too.
I cut the fabric 13 inches x the width of the fabric. I then cut down the fleece to the width of the flannel. The pieces ended up being about 42x 13. (Keep the extra fleece material if you want to make a pillow to match.)

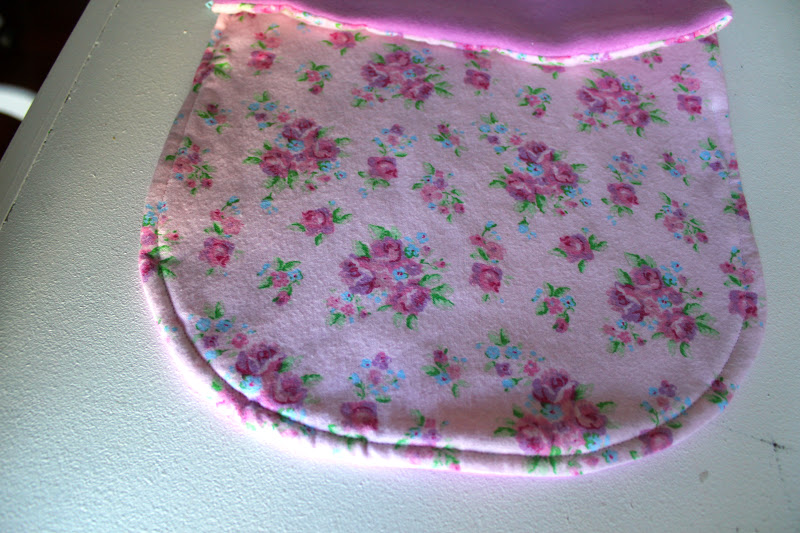
Step 1: Round the corners on one end of the sleeping bag.
This will be the end for the head to lay on.
It should now look like this.
The lining and shell should be laying right sides together at this point as well.


Step 2: Fold the squared off end up to where it will be sewn and make sure you have enough room for the zipper to be placed on one side. The zipper will not be sewn into the bottom of the sleeping bag, just one side of it. It doesn't matter if the zipper is a little longer than the side.
Mark where the zipper will start at the opening (as pictured below with the red clips)

It should look like the picture below:

Step 4: Clip the curves and the one corner that is sewn


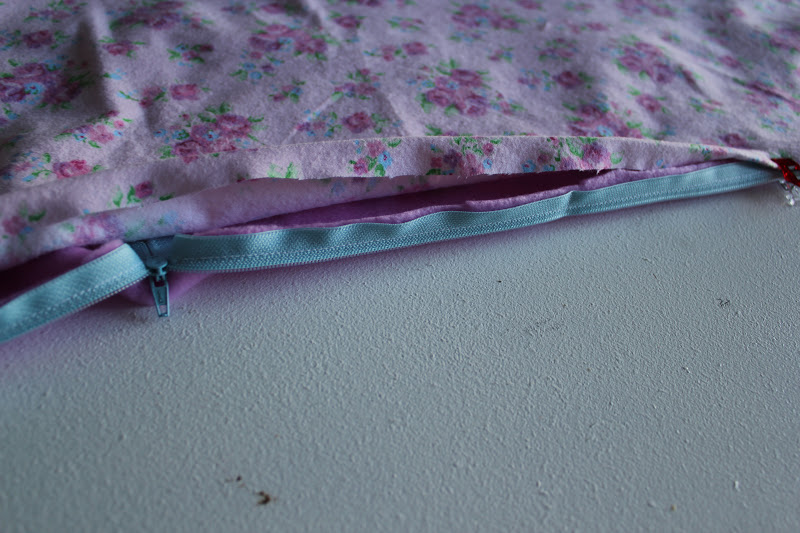
Open the zipper and as pictured below pin it to the outer shell on one side. The zipper should be face down with the teeth facing away from the raw edge.


Step 7: Flip the zipper tail between the two layers of fabric

It should now look like this. The zipper tape and seam allowance should be turned inside as well.


You should be working from the outside toward the middle on each side. Stitch each side down. Do it as you did the first time working form each end toward the middle.
Step 8: After the stitching each side to the zipper pull, fold the sleeping back back in half and topstitch the last inch that was left un sewn.

Step 9: Topstitch the rounded head piece where it will be visible.
Step 10: Flip the sleeping back inside out and stitch 1/2 seam allowance on the remaining open side, backstitching at the beginning and end.


I added some ruffles and a simple pillow, because god knows dolls don't sleep without all of the necessities.

For not turning into a cat lady sake I better stop right there about zippers because I am geeking out.

Sweet Dreams little Bitty

FYI all of Alaire's dolls thus far are named after the doll brand. American Girl Bitty Baby... Bitty, Fischer Price Little Molly Doll... Little Mommy... That's my favorite because people always call Little Mommy Baby Mama and I dig it. lol!!
Happy Wednesday!
How cute! I love floral fabric you chose, and the three adorable ruffles is the perfect touch! The tutorial is great and easy to understand!
ReplyDeleteThanks for linking up!
Oh, Lairi, I hope you can still get my comment. How sweet of you to create and post this very thorough and picture-heavy tutorial for your darling baby doll sleeping bag! I've been searching for a couple of days for a way to make these for my little granddaughters and although I've found several tutorials, yours is the very best by far! Thank you, thank you, sweet Lairi. Consider yourself hugged. :-)
ReplyDelete