I found this chair at a thrift store for $20, but all furniture was half off that day, so it ended up being $10. I didn't know where I was going to put it but I liked the detailing and it wasn't wobbly or badly beaten up.


The seat, however, was disgusting.


I decided I was going to put the chair in the craft room, and maybe end up using it for an extra in the dining room. Our dining room is actually a yellow color currently, so it would match well enough. (I don't know how long it will stay that color though.. ha! Re thinking a lot of my paint choices this year!)
Moving on! I already had bought four different fabrics to use for different projects in my craft room. I ended up picking a chevron print to use on the chair.
To recover most dining room chairs, you literally flip it over and unscrew four screws. Then you end up with this:

I told you it was UGLY.

I cut off the material from the underside of the cushion.

It had piping and a zillion staples.

I tried this...

This worked better.

After I got most of the staples off, I found this. Gross padding.

I didn't want to go out and get new foam and the chair was comfortable as is, so I decided to take off the piping and leave the other material. Since the pattern wasn't printed I just put material right over it.

Cut a square bigger than the cushion.

I folded the raw edge under and then pulled it taught.

I stapled that side down.

Use a lot of staples (I know this because the original was stapled to death)

Do the same thing to the top and make sure you pull it really tight before stapling.

Staple each of the sides the same.

This is the front side.
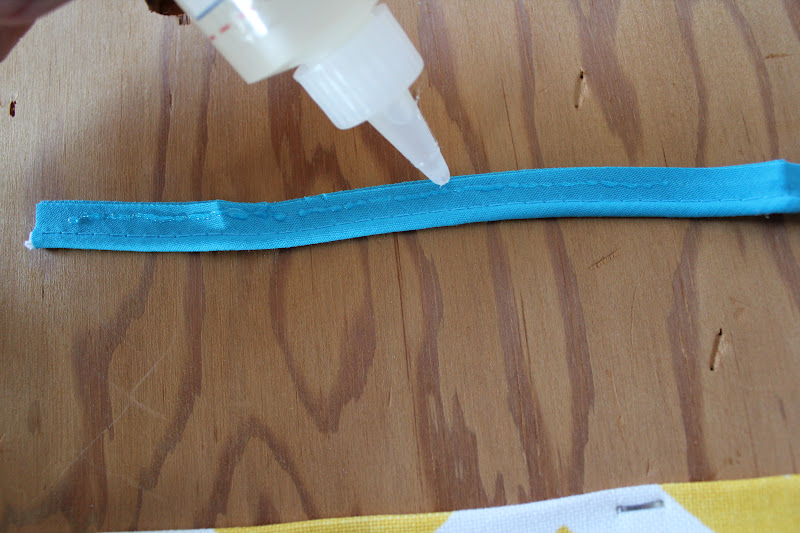
I decided to add piping. I used pre-made piping and glued it with fabri-tac.

Glue and pin to hold it in place


Boom done. Trace the cushion onto a piece of material and glue or staple it down to cover the messy underside (not pictured)


That's it. This project took about an hour, so not too bad.
very nice. :)
ReplyDelete